Bob Tinsley


Influences

David Western, Laura Jenkins Gorun

Recently Rated:

Stats

Blogs: 13
Pages: 1
images: 9
Invitations: 3
Groups: 1
 

Blog

Lovespoon Fans Welcome


By Bob Tinsley, 2016-05-09
Lovespoon Fans Welcome

Ceri has worked hard to provide a place where aficionados of the Welsh Lovespoon can come to find such things. Click on the Stores button at the top of the page and you'll be introduced to four very skillful and creative carvers specializing in Welsh lovespoons (of whom I am one).

We're not just here to sell our wares. We also want to serve as a source of information about the history, legends and production of Welsh lovespoons in particular and the lovespoons of other cultures as well.

The Bretons, who are also Celts and have a language very similar to Welsh, also have a carved spoon tradition with romance at its center.

Click over to our stores and our timelines and see what we have to offer. Feel free to ask us questions about the history, symbology, production methods or anything else related to lovespoons. We'll be happy to answer. And if we don't know the answer, we probably know someone who does.

So come on by. The person to whom you give one of our lovespoons will remember you forever!

Posted in: Lovespoons | 10 comments

A Commissioned Lovespoon Part 05


By Bob Tinsley, 2014-07-06

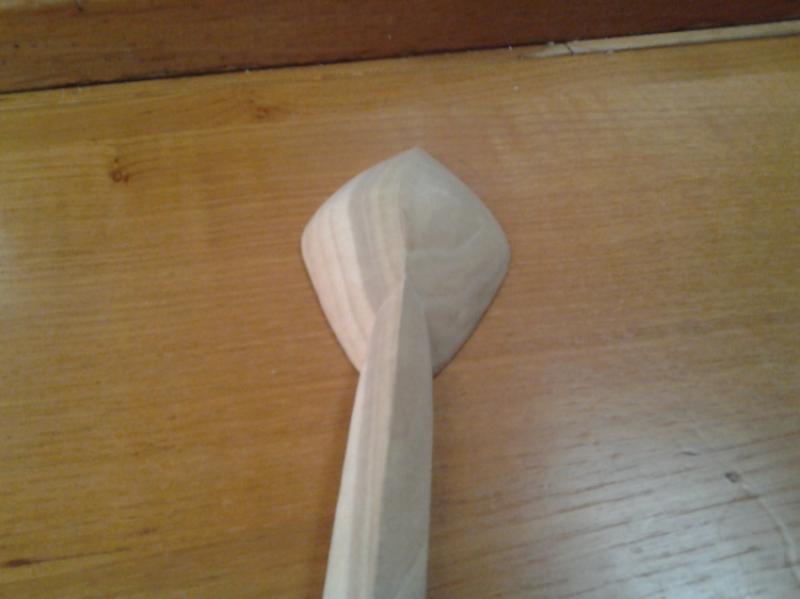
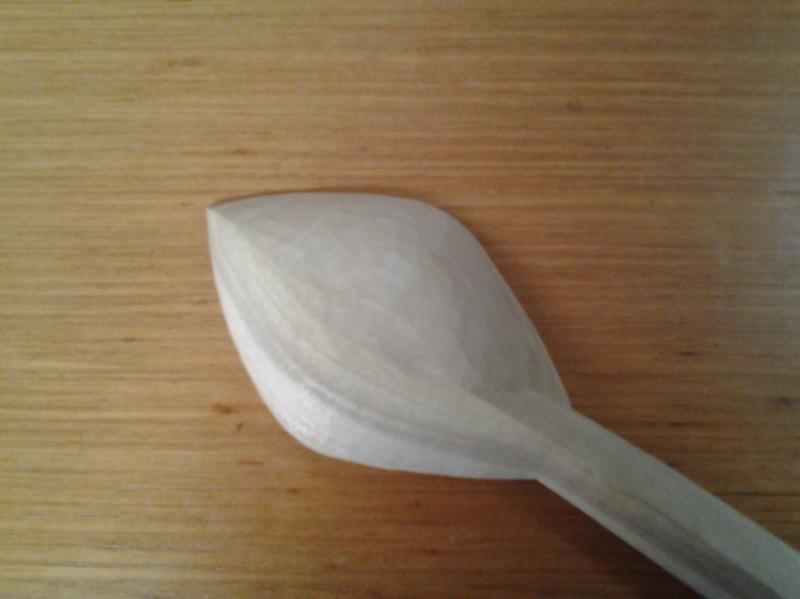
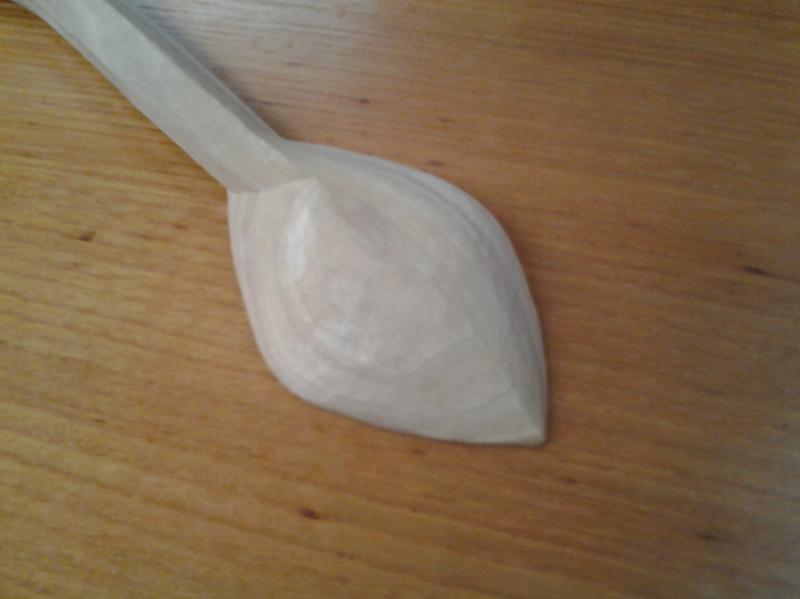
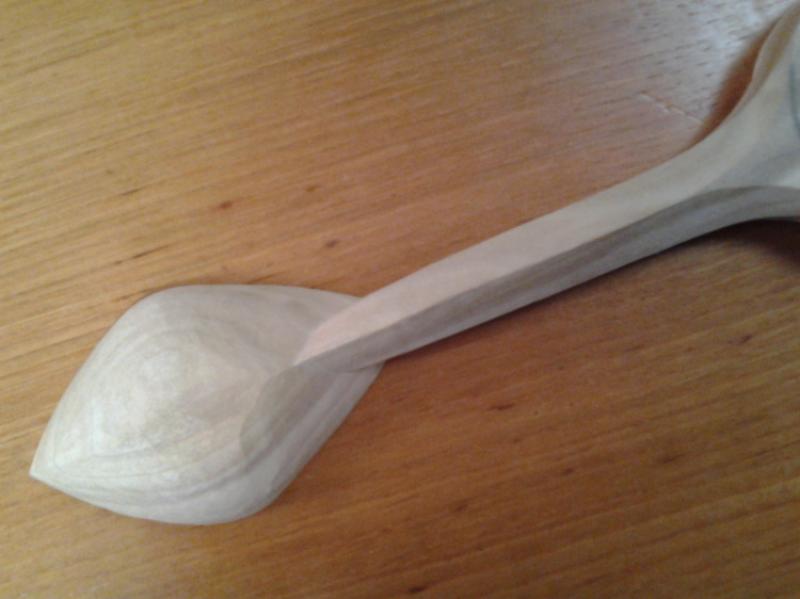
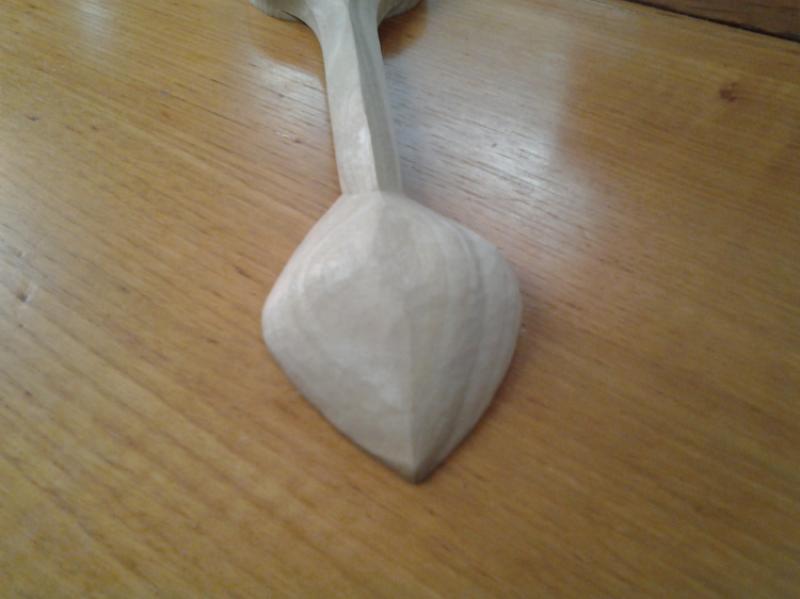
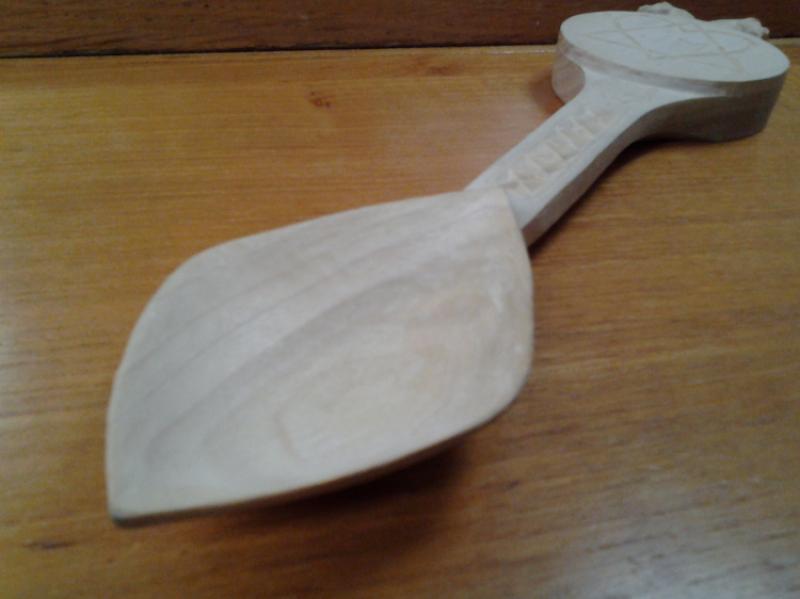
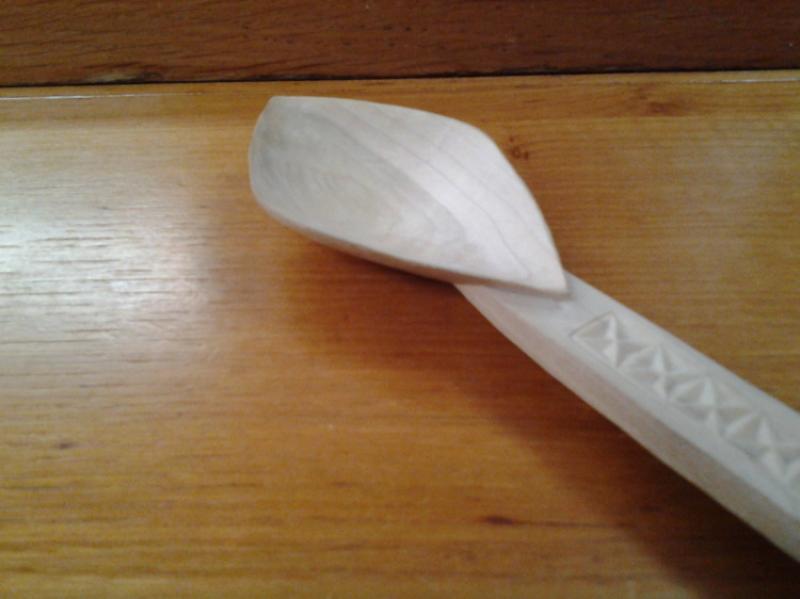
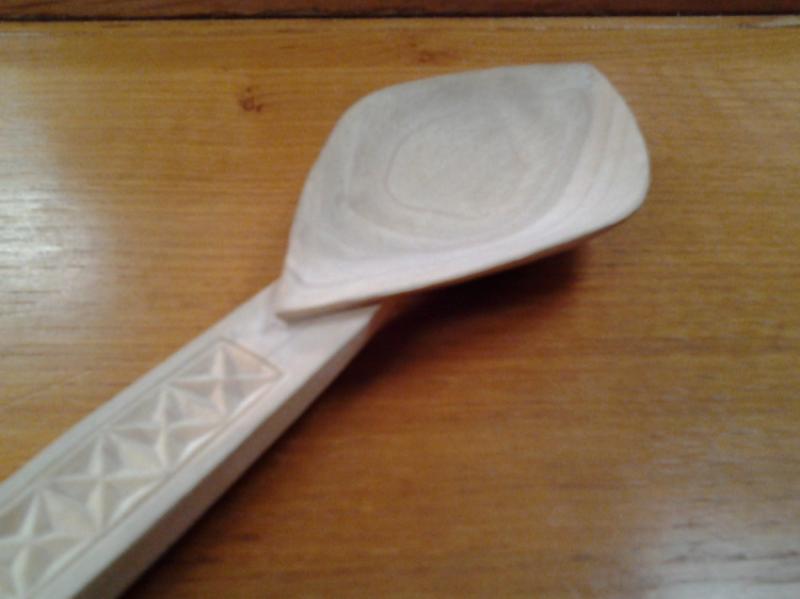
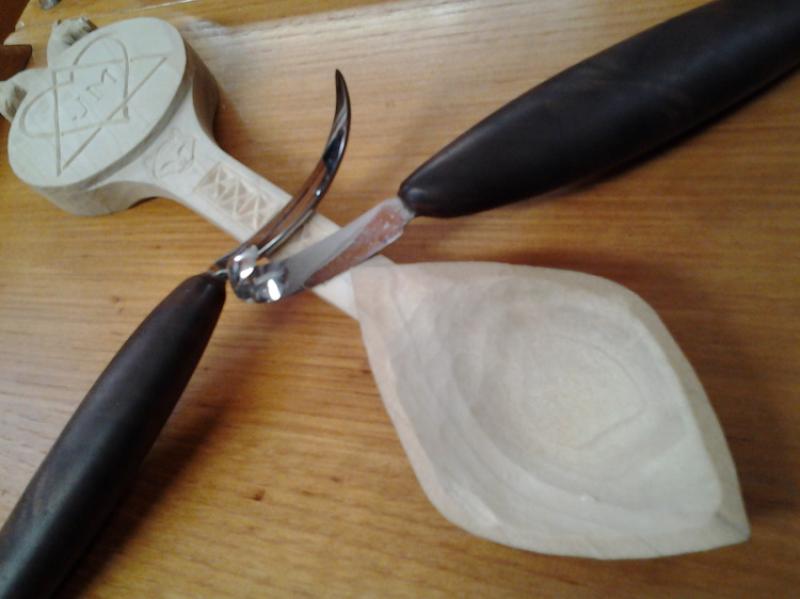
More work on the back of the bowl. The first three photos show the right side of the bowl almost to its final shape. I say "almost" because as I "symetricize" (that's probably not a word, but it should be!) the other side of the bowl I will need to adjust the right side to match. 


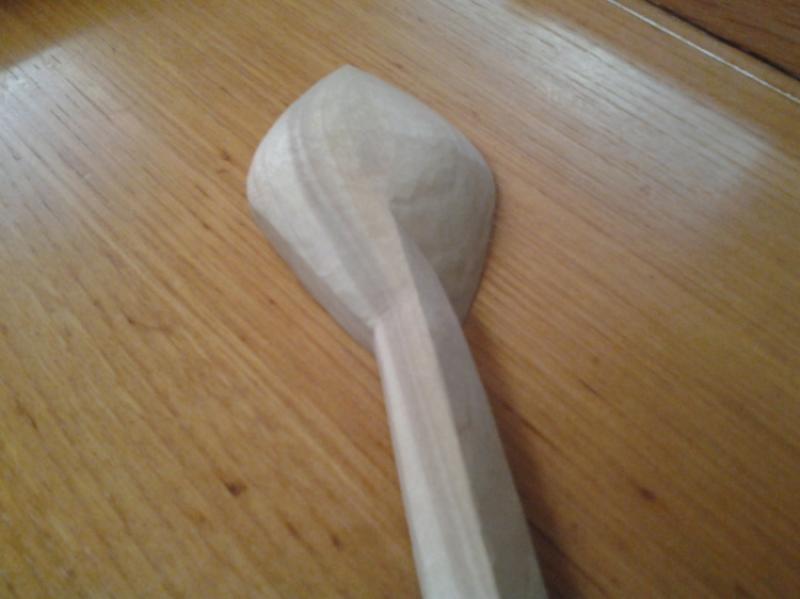
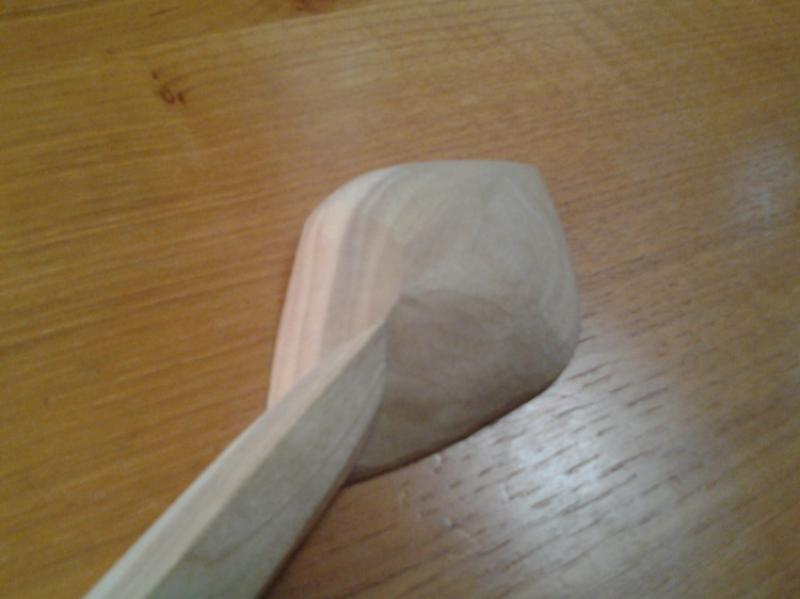
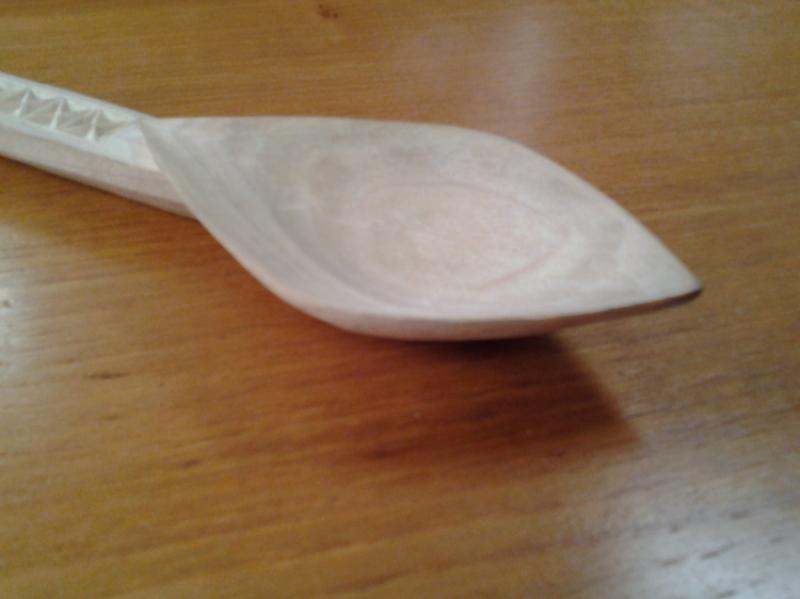
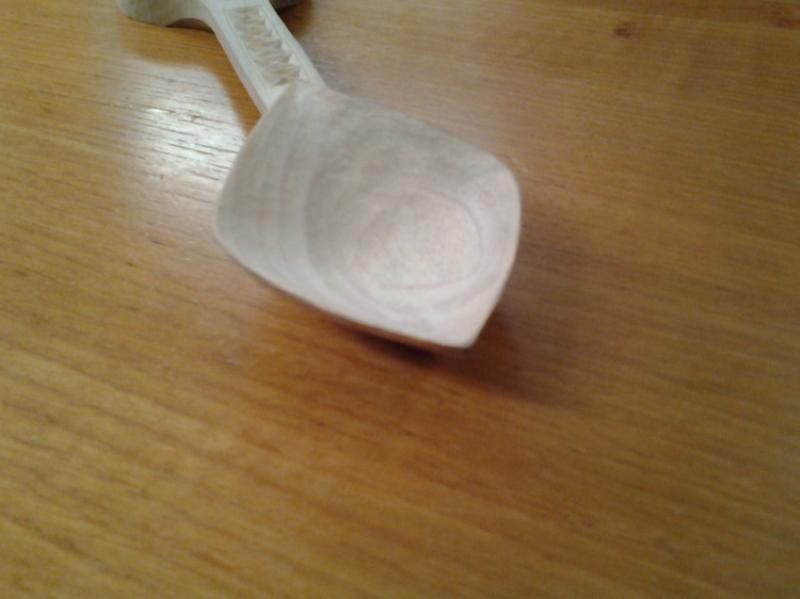
The last three photos show the first half of the work on the left side. This is fiddly work, but rewarding.

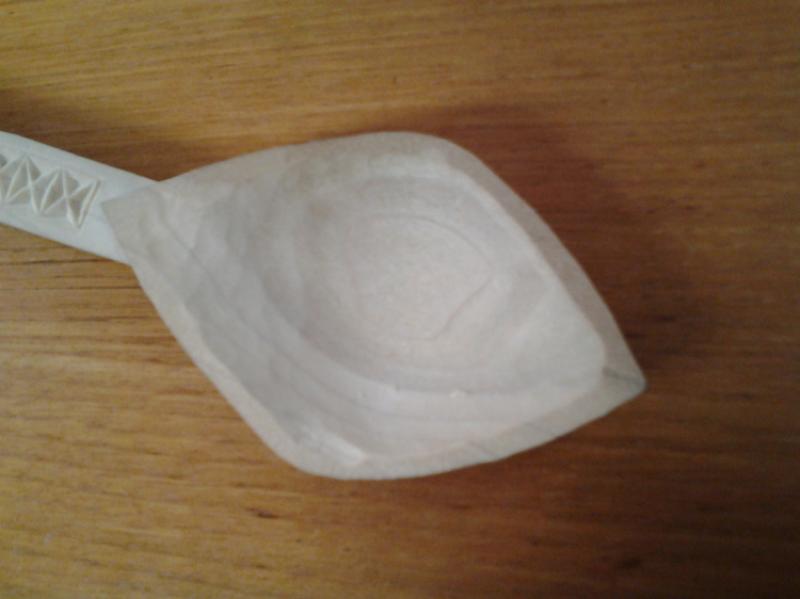
So far I've spent a little more than four hours just on the back of the bowl. I always work on the back of the bowl first. That allows me to refine the shape. To my mind digging out the hollow of the bowl first just doesn't allow for the minor adjustments and refinements that make the difference between an eating or cooking spoon and a lovespoon.


Posted in: Lovespoons | 0 comments

A Commissioned Lovespoon Part 12


By Bob Tinsley, 2014-08-12

Principal carving is done! I've still got some tweaking to do on the bowl, but I'm almost there. After the tweaking (NOT twerking!) I'll begin using the dreaded Devil's Paper. Then there will be the oiling . . . followed by the oiling . . . followed by the oiling . . . followed by the curing of the oil. All in all, probably another week before the spoon hits the mail!

Posted in: Lovespoons | 0 comments

A Commissioned Lovespoon Part 11


By Bob Tinsley, 2014-08-12

Finished the chip carving and put a border around it. Turned out pretty well, I think.

And now: THE BOWL! Now comes the really fun part, finishing the bowl. We can start to see the figure in the bowl. We'll have a bull's eye with some nice color: lots of different shades of brown and even some greens, very subtle. I love this part!

I'm often asked about how I avoid going too deep in the bowl and breaking out the bottom. First, don't get carried away with all the scooping (it's easy to do). Pay attention. Go slowly and keep measuring the thickness of the bowl. Some people use calipers for this, but I've found that the "Pinch Test," pinch the bowl between your thumb on the inside and your forefinger on the outside, gives me a better feel (get that? Feel! Ha!) For the thickness and the uniformity. I'll often find myself paring paper thin shavings off the outside of the bowl to match the curvature of the inside and keep the wall thickness uniform. The knives pictured with the spoon are made by Del Stubbs of Pinewood Forge.

Posted in: Lovespoons | 0 comments

A Commissioned Lovespoon Part 10


By Bob Tinsley, 2014-08-09

Today, as you might be able to tell from the photos ;) 
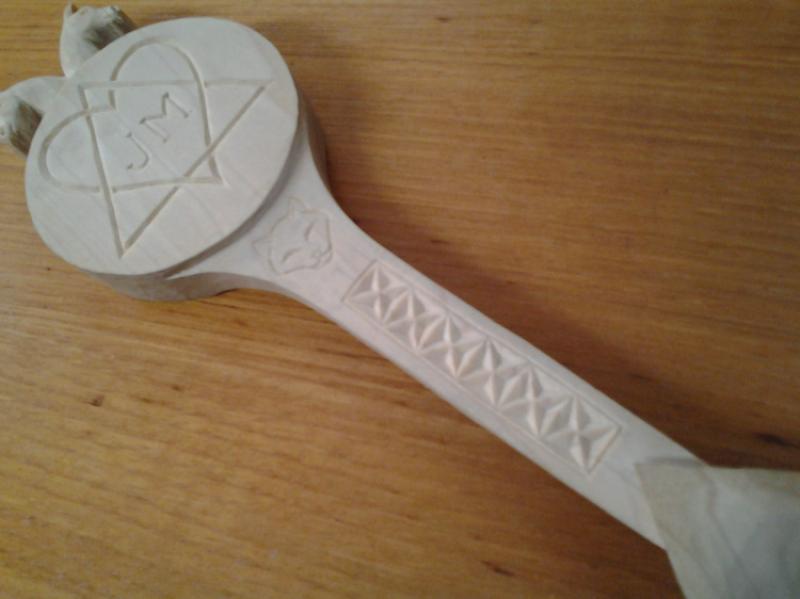
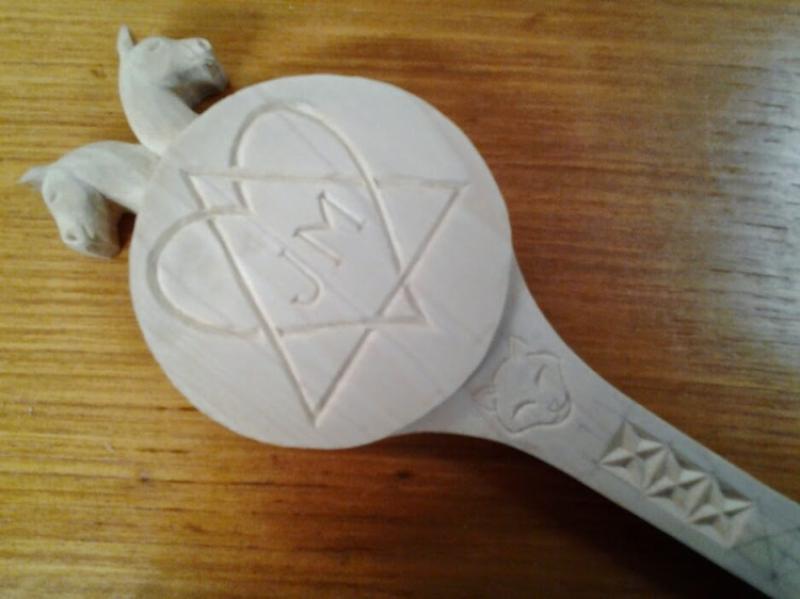
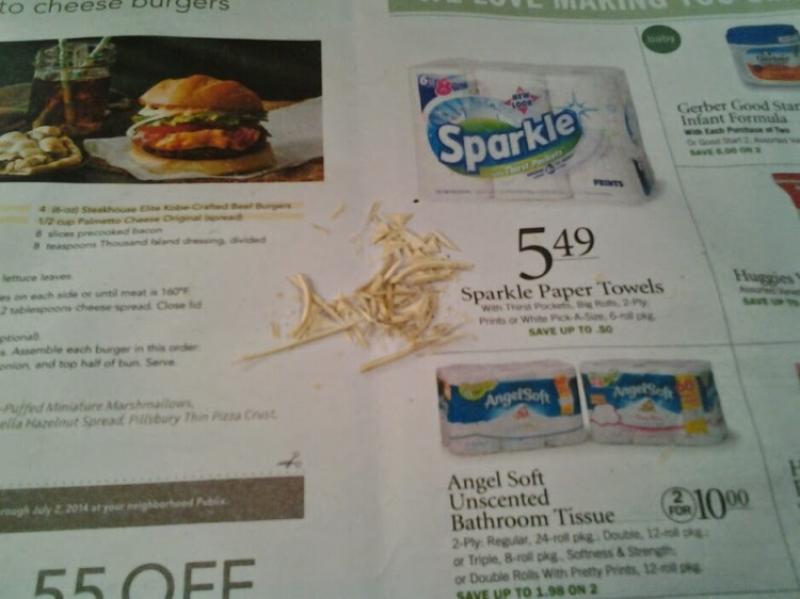
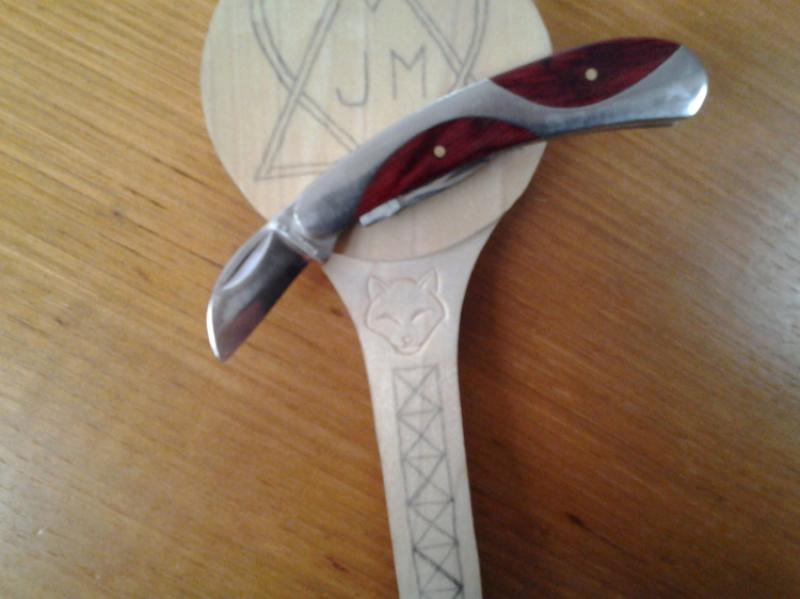
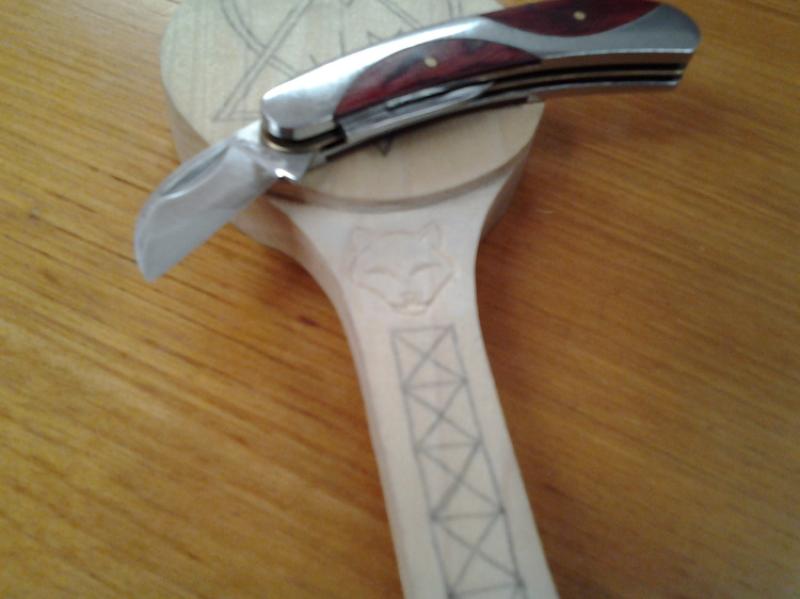
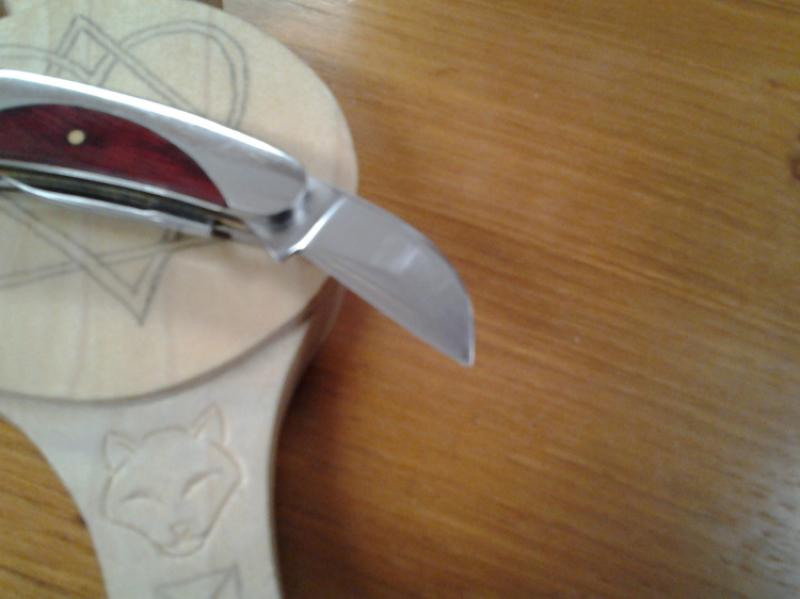
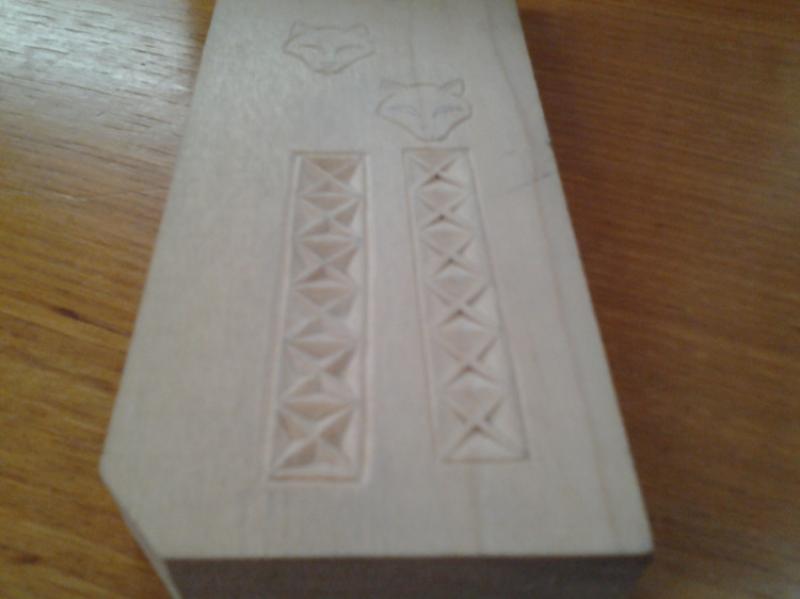
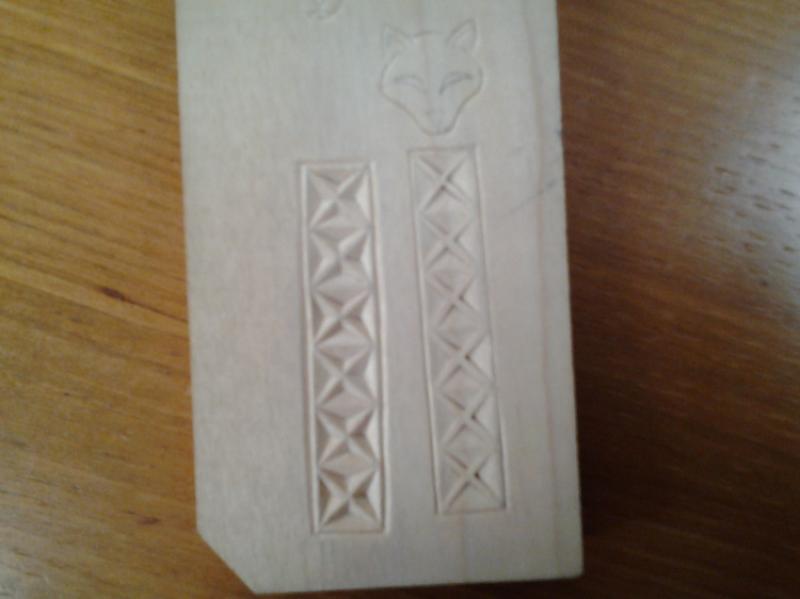
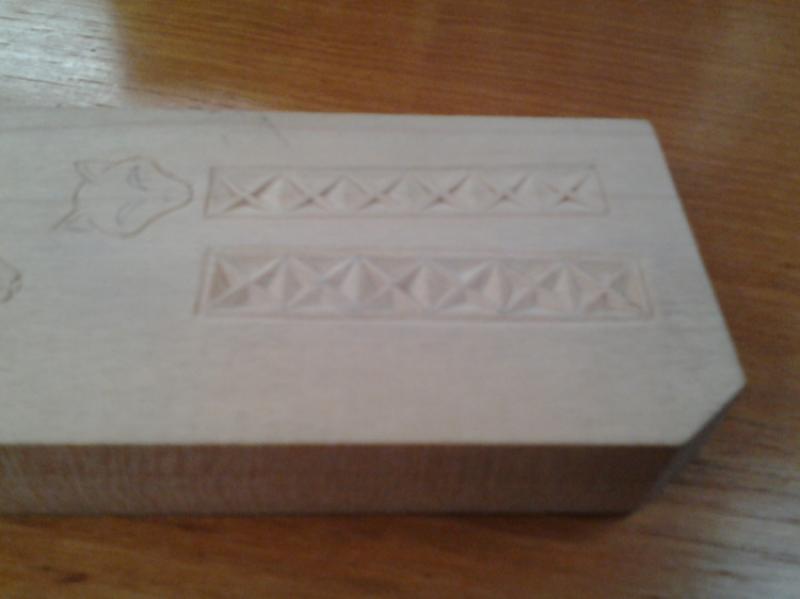
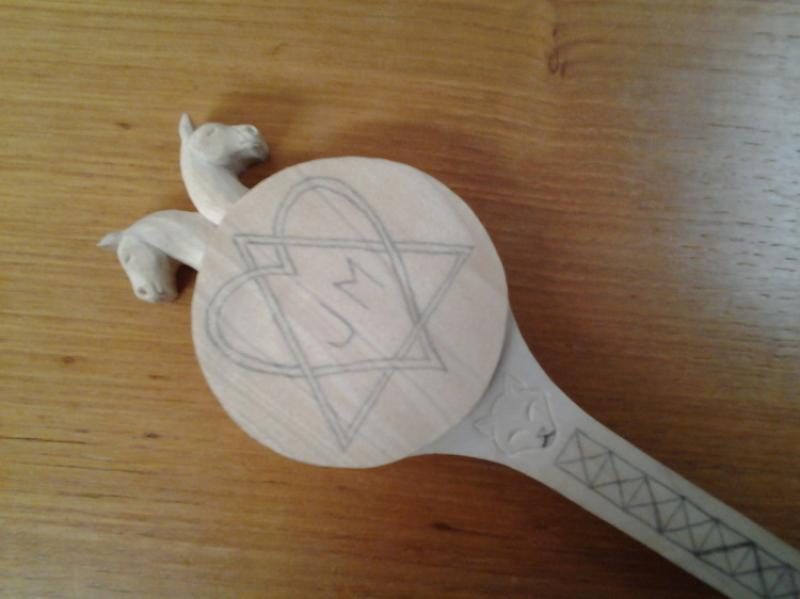
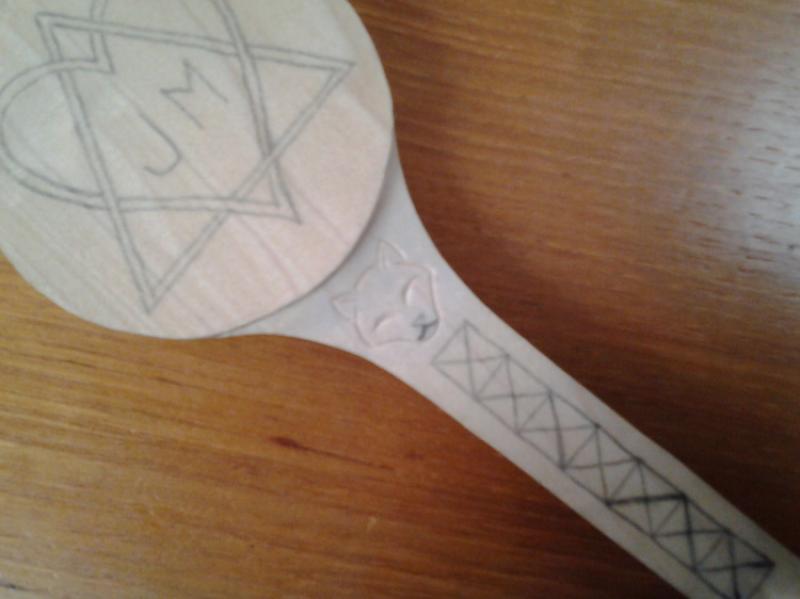
, I began the chip carving. It's so nice finally having a knife that works! I'm generally pretty good about stropping my knives to keep them sharp as I carve, typically about every 15 to 30 minutes, but I've found that this chip carving knife performs noticibly better If I strop it after I finish a square, about 12 cuts. I mean it's NOTICABLY better. I suspect that it is more about the polish on the blade than the sharpness. Down here in Flor-I-da it's so humid that you can get microscopic beads of moisture on a metal surface after just a few minutes. Moisture on a blade means binding in the wood. At least that's my theory. When it's humid down here EVERYTHING is damp! The medallion is done and half of the squares. Tomorrow the rest, and then on to the bowl. BTW, that pile of chips is the result of about 1.5 hours of carving. Once you start on the finish work, the volume of the chip pile decreases as the carving time increases.

Posted in: Lovespoons | 0 comments

A Commissioned Lovespoon Part 09


By Bob Tinsley, 2014-07-21

The last couple of days were spent in zen-like contemplation, practice and refinement. I finished the cat and began working on the chip carving for the stem. I discovered a couple of interesting things. I haven't done much chip carving in the past, because it seemed like such a struggle to get it to look right. I discovered that I just didn't have a knife properly tuned for the work. As I began working on the practice piece I got increasingly frustrated at the way my knife was behaving. I was either having to use much more force than I wanted to, or I was having to make multiple thin cuts to do what most people do in one cut. The sharpness wasn't an issue; the issue was the blade profile. Most chip carving cuts are done with the first 1/8" to 3/16" of the blade. This blade was simply too thick, so I spent about 3 to 4 hours regrinding, sharpening and polishing the blade. I changed the inluded angle of the edge to about 15 degrees or less. I also ground a small swedge on the back of the blade near the tip to decrease the friction of the blade against the wood. I also rounded the back of the blade to make it more comfortable to push against. What a difference! Chip carving changed from a chore to a pleasure in one fell swoop. I still need to make the swedge a little wider and do more polishing on the blade.

Now that things were working the way they should be, I did two styles of chip carving for the stem. The one on the right is an older, more primitive style. It looks rather like laces. The one on the left is what is more commonly seen today. The client chose the one on the left.

Posted in: Lovespoons | 0 comments

A Commissioned Lovespoon Part 08


By Bob Tinsley, 2014-07-20

I've finished both horse heads. For now. I spent most of my carving time today practicing on the chip carving. On different piece of wood! I got the cat the way I wanted it (on the practice piece) and began practicing on the squares below it. (No, you don't get to see that!) Based on what I'm seeing, I MAY need to do a fresh layout on the squares. I'm also playing with the exact angles and order of cuts. More playing needs to be done. After messing with the practice squares for a while, I decided to do the cat head on the spoon. Before I got to the nose and mouth my hands were beginning to tremble enough that I thought I'd better quit and do that tomorrow. It was a struggle to stop, though. "It's only five more little lines. I can do that in my sleep. Just five lines. Come on, you can do it," I said to myself. Fortunately, I noticed that I couldn't even draw the guidelines properly, so, descretion being the better part of valor, I decided to wait until tomorrow.

Posted in: Lovespoons | 0 comments

A Commissioned Lovespoon Part 07


By Bob Tinsley, 2014-07-20

I've finished with the back of the bowl, pretty much. You probably can't tell the difference, but I can. I'm much happier now. As I work on the inside of the bowl I'll undoubtedly be making small adjustments to the outside, but that's normal. I started on the horse heads and got one almost done. Still have a few minor adjustments to make before I start the next one. I used the Flexcut Detail Knife to do a lot of the horse head. I like Flexcut knives. They have good steel, good heat treatment, hold a good edge a long time, but there is one thing I just can't abide: that slick, lacquer coating they use on the handles. My hands sweat when I carve, so that lacquer makes it seem like I'm holding a piece of ice. Fortunately there is a simple solution: 100-grit sandpaper. The bare wood sticks to my hand like glue. A major improvement.

Posted in: Lovespoons | 0 comments
 / 2