Bob Tinsley


Influences

David Western, Laura Jenkins Gorun

Recently Rated:

Stats

Blogs: 13
Pages: 1
images: 9
Invitations: 3
Groups: 1
 

Blog

A Commissioned Lovespoon Part 06


By Bob Tinsley, 2014-07-13

Today I got the back of the spoon about 98% finished. I've marked one area where I need to take off just a little more wood to get the symmetry I'm looking for. I'm probably going a little OCD on this, but that's me and spoon bowls. Once I move that wood I'll start on the horses, move on to the chip carving and do the inside of the bowl last.

Posted in: Lovespoons | 0 comments

A Commissioned Lovespoon Part 04


By Bob Tinsley, 2014-07-01

Today was a light carving day. That off-side thumb was demanding a day off, but what I did today didn't put much of a strain on it. It kept its complaints to a dull roar. ;) The first photo shows the transition from the medallion to the ridged stem on the back. 

I did this a day or two ago, but never posted a photo of it. I spent today working on the back of the bowl. I'll often spend as much time working on the bowl as I spend carving the entire rest of the spoon. To me, the bowl is the most important part of the spoon. Without a bowl a spoon is just a stick. I've been smoothing and shaping the bowl with the knives shown. 

The two on the left were made by Ralph Long, and the one on the right was made by Allen Goodman. I normally rough out the outside of the bowl with my Regular Sloyd from Del Stubbs. I like the longer blades for bowl work because they allow longer slices and I can control the transition from one curve to another better. Shorter blades leave me with a choppy feel. Once the rough-out is done I change to a much thinner blade, though still long. 

I lay the blade almost flat on the wood and use it like a plane or spokeshave. Using this technique I can get a surface that on anything other than a lovespoon would be considered finished. 

It only requires a couple of minutes work with sandpaper to get it baby-butt smooth. Any technique that lets me minimize the use of The Devil's Paper is worth the time it takes. 

I use the short bladed knife to do the short-radius, scooping cuts at the transition from the stem to the bowl. Now that I've removed more wood and smoothed out the surface the figure of the wood is becoming more apparent even in my poor photographs. 

This variation in color is what I love about poplar. You can get all shades of brown, greens, yellows and even purple. It's a terriffic looking wood and easy to carve.

I do all my carving with hand tools, 99% of which are knives. I do it this way for two reasons: 1) I try to emulate the traditional way of working. The young men of rural Wales (or Scandanavia) who began this tradition didn't have elaborate shops with lots of tools. They worked from the heart with what they had. That's the feeling I want to put in my spoons. 2) I hate power tools! They are noisy, dirty and dangerous. The only concession I make to modern tools is the use of a battery-powered hand drill to start the piercings on my spoon, and the only reason I do that is that it allows me to hold the piece in my hand while I'm drilling. A hand drill requires the use of two hands, and since my wife and I live on a 28-foot sailboat we don't have the room for a bench I can clamp the piece to while I drill.

I'm still trying to figure out the stem-bowl transition. I cut a little and stare a little. Cut a little more and stare a little more. It's time to do a lot more staring and thinking.

Posted in: Lovespoons | 0 comments

A Commissioned Lovespoon Part 03


By Bob Tinsley, 2014-06-29

Now I have a really sore left thumb. Well, you know what THEY say (you know who THEY are, don't you), one must suffer for one's art. ;) I got the front of the stem relieved to about where I want it and flattened.

Again, nothing fancy, just cut, strop, cut, strop. The back of the stem I decided to carve into a ridge. I don't know what it is about ridged stems, but I can't seem to stay away from them.

In any case it allows me to play a little and still stay within the budget (about which, more later). I began shaping the outside of the bowl, and my feeling about the wood has been borne out. This is going to be a seriously good-looking piece.

Even though it is not yet apparent in the photos, there is a good, strong figure working through the bowl. I had to be careful to make sure I was smoothing out an actual facet instead of trying to erase a grain line.

Ah, to have more such problems!

A stray thought about commissions occurred to me today as I was working on the spoon. If you buy a lovespoon from a website or store, mine or anyone else's, you get a beautiful piece of art at a price that is what it is without room for negotiation. A lovespoon doesn't have to be fancy or intricate, especially if it holds meaning specifically for you. When you commission a lovespoon you are not locked into a high price. You can decide on a budget, and between you and the carver work out a design that meets that budget. Lovespoons aren't just for the well-heeled collector, everyone can have one. And what's better, everyone can have one that has a special meaning just for you.

Posted in: Lovespoons | 0 comments

A Commissioned Lovespoon Part 02


By Bob Tinsley, 2014-06-27

Today was another day of donkey work -- removing wood. Nothing fancy, no special techniques needed. Just strop, knife, hog off wood, repeat. I now have a sore left thumb. Probably 98% of the cuts I made today were what I call lever cuts (some call it a scissors cut): put your left thumb (non-dominant hand) on the back of the blade just above the handle, then move your right hand using your left thumb as a fulcrum. That produces a very powerful, very controlable shearing cut. It also produces a sore left thumb. The more I cut on this piece of wood, the prettier I think it's going to be when it's oiled. The medallion at the top has a lot of good figure running through it, and the bowl, with that dark stripe running slant-wise through it, should be pretty spectacular. Tomorrow more wood removal as I relieve the surface of the spoon's stem. After that, the bowl. The major decision I have to make regards how the stem will blend into the back of the bowl. That's going to take some thought.

Posted in: Lovespoons | 0 comments

A Commissioned Lovespoon Part 01


By Bob Tinsley, 2014-06-26

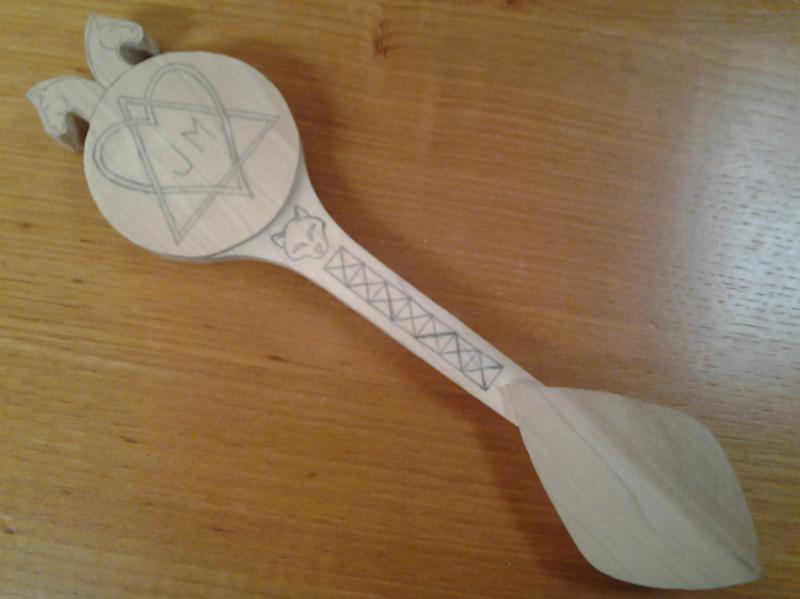
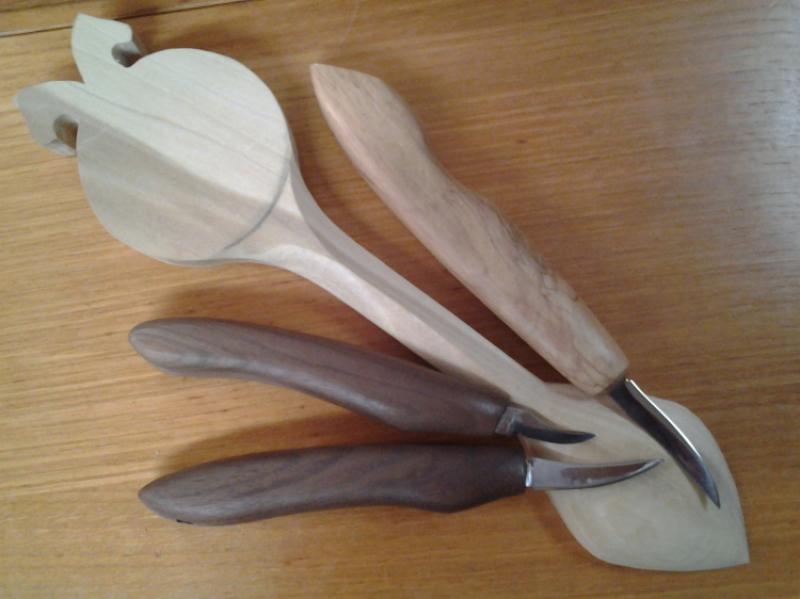
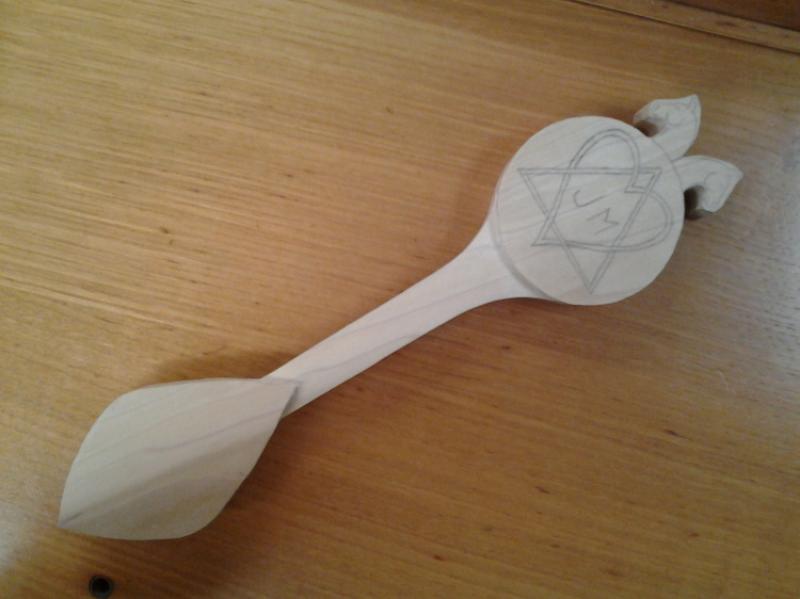
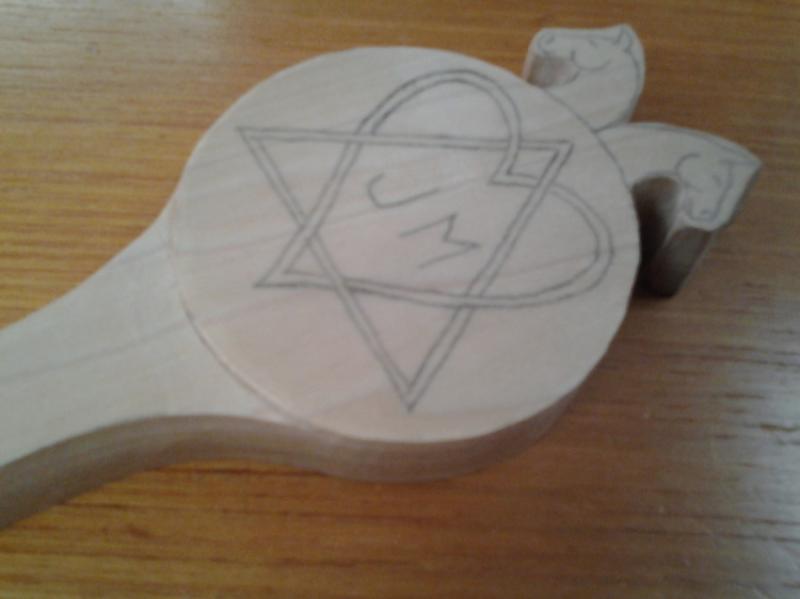
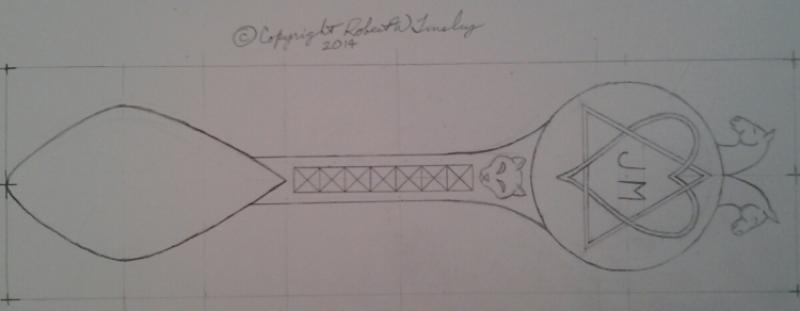
My client has very generously allowed me to post progress on their spoon and show the commissioning process from beginning to end. The process begins with a discussion about influences in the client's life and things they enjoy. The client is an adoptee, something that, understandably, has been a major influence in their life. The client also loves horses and cats (who wouldn't?). I decided to use the Adoption Triad as the dominant feature of the spoon. The Adoption Triad is represented by a triangle and a heart. The sides of the triangle represent the adoptee, the adoptive family and the birth family. The triangle is interwoven with a heart that symbolizes the love that binds the triangle together. As you can see in the first photo I came up with two designs based on the older, simpler forms of the Welsh lovespoon.

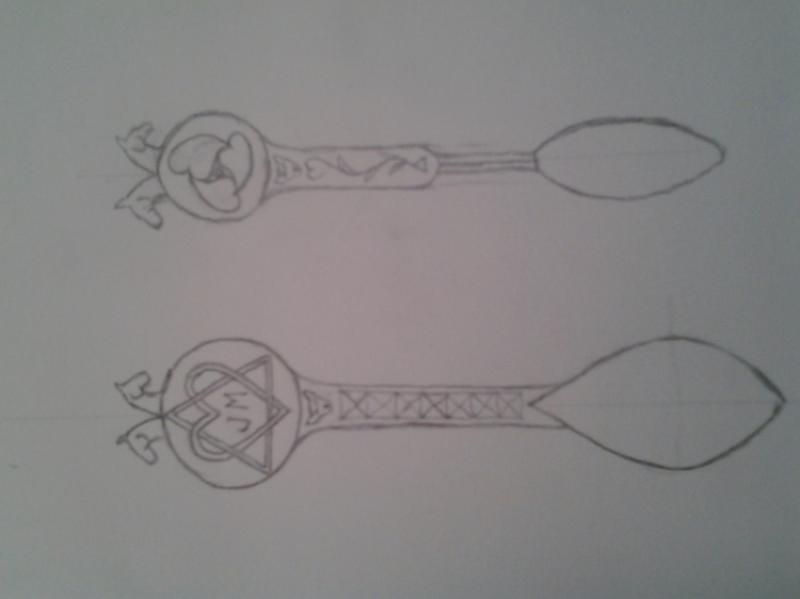
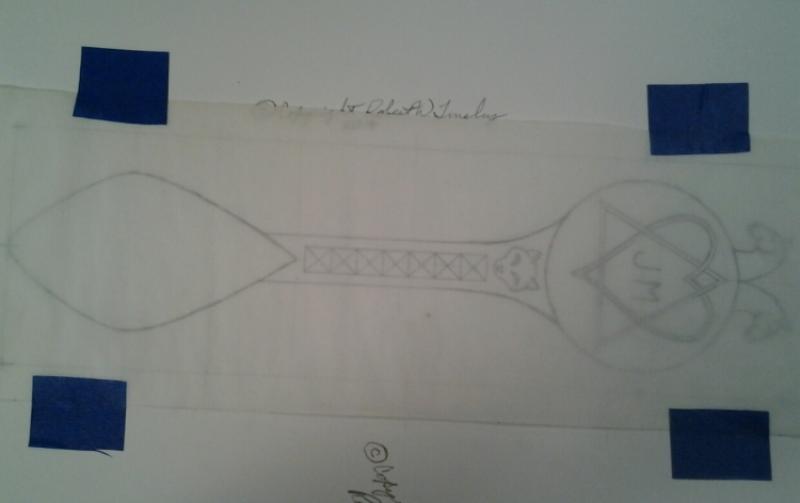
The one on the bottom used a more standard version of the Triad, the one on top, a more stylized version I came up with consisting of three stylized hearts surrounding a smaller triangle. I also incorporated horses and a cat. The client chose the design on the bottom. My next step was to produce a full size drawing so I could adjust proportions if need be.

I next traced the design onto tracing paper.

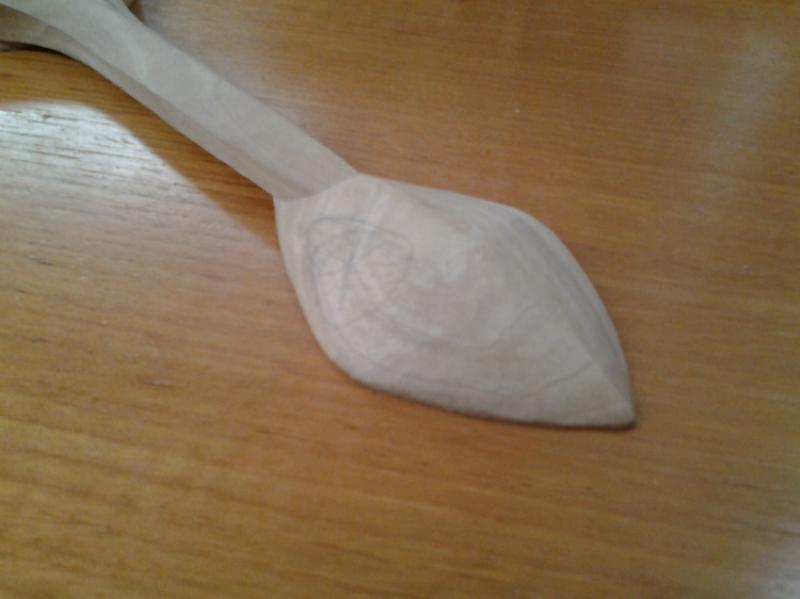
After choosing a piece of wood (poplar) for the spoon I needed to transfer the drawing to the wood using transfer paper (available at most hobby and art stores).

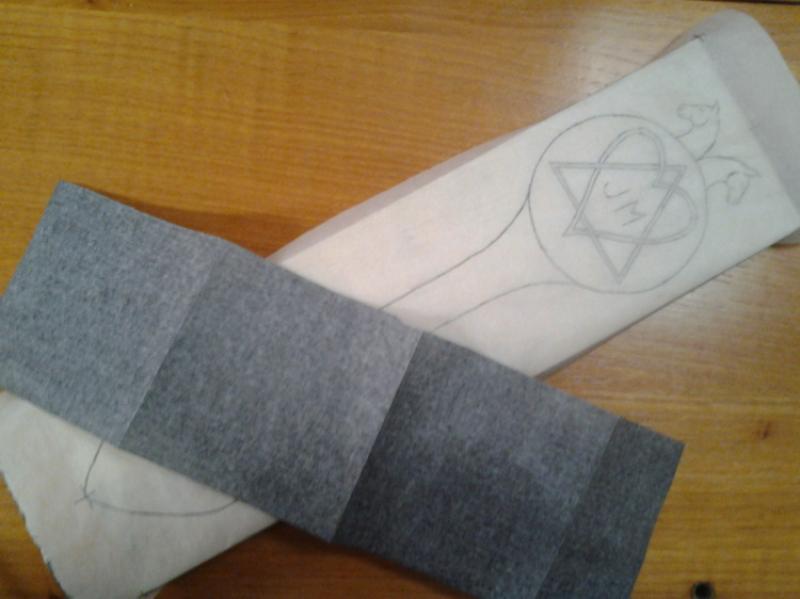
I put the transfer paper against the wood and taped the drawing over it.

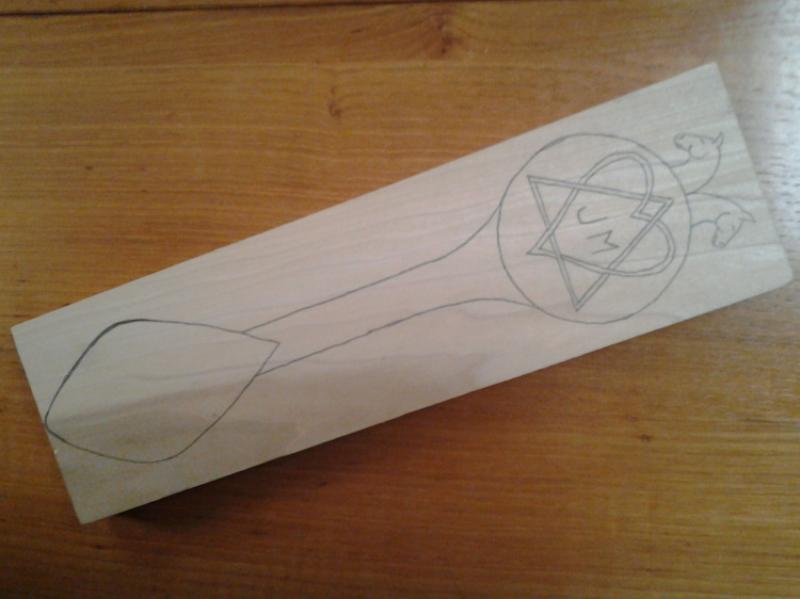
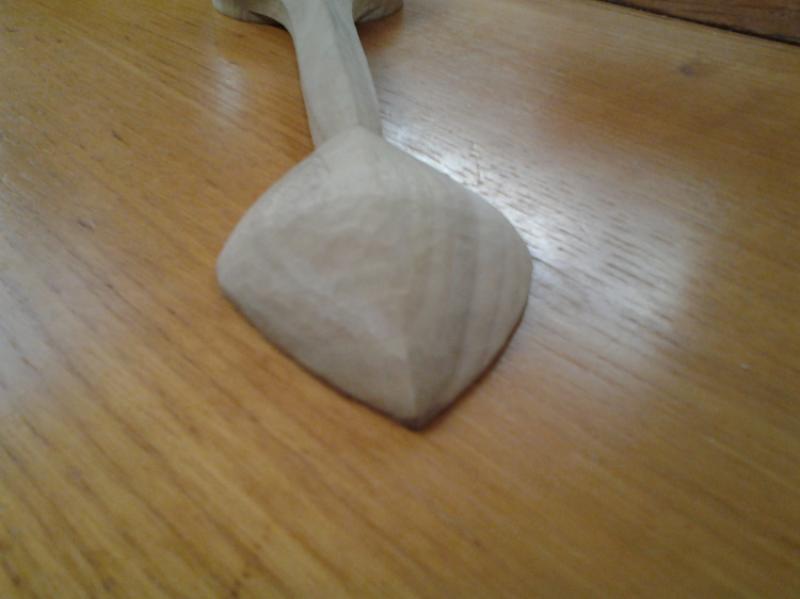
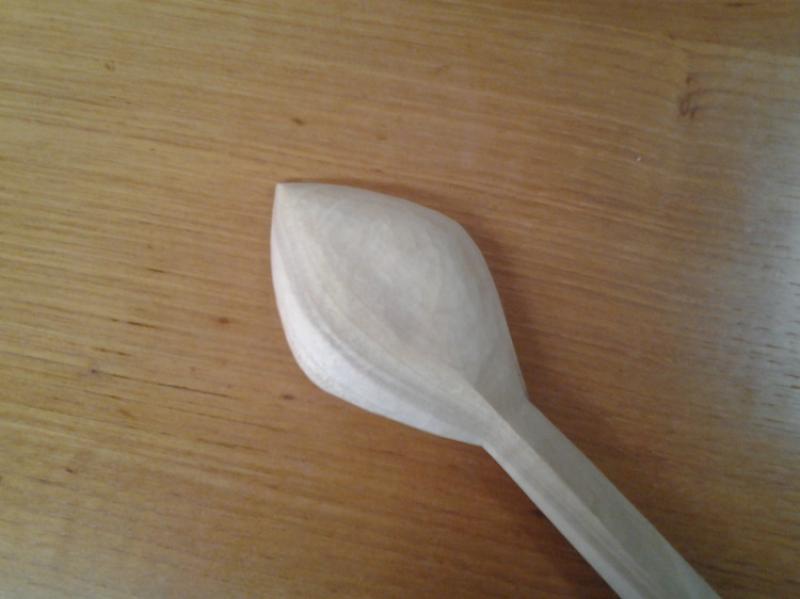
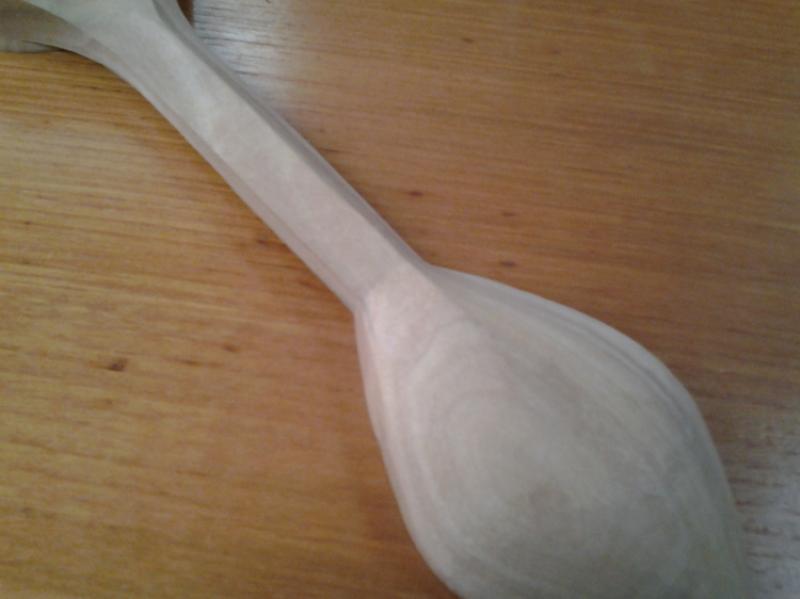
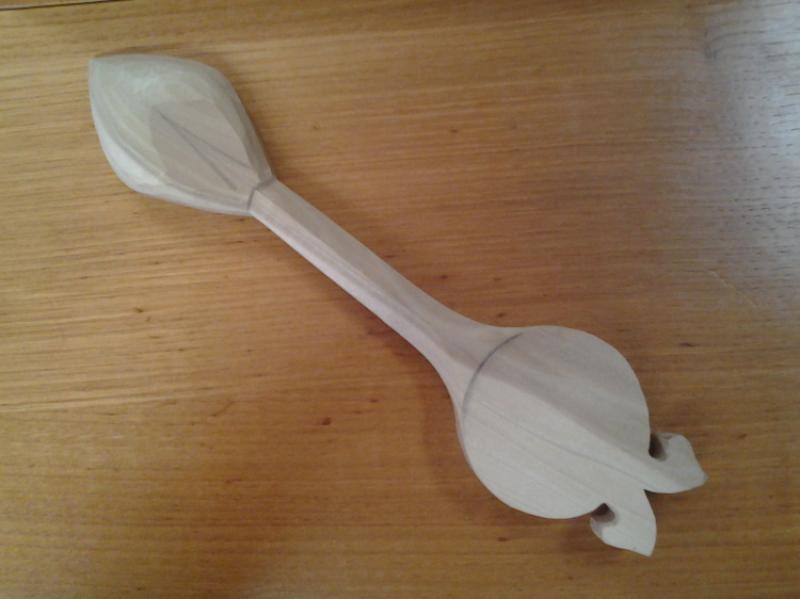
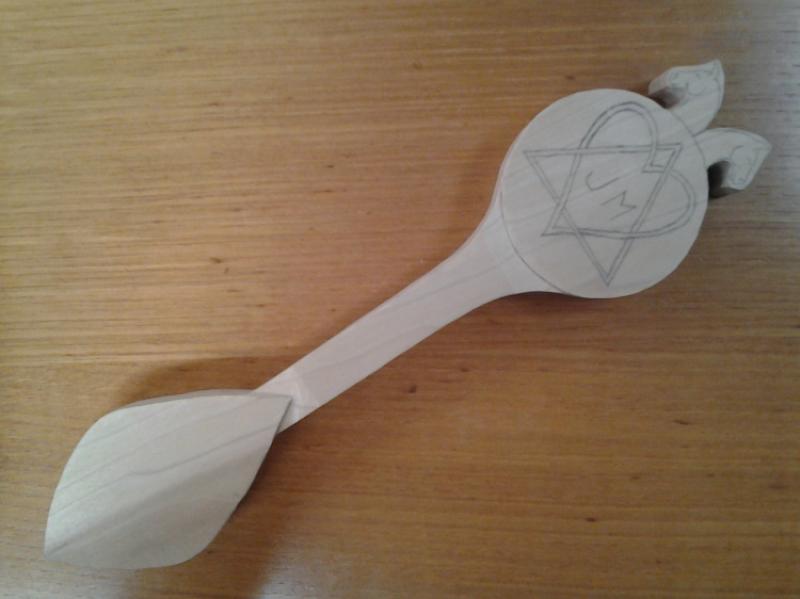
I used a stylus to trace over the lines on the drawing. Using a hand coping saw I roughed out the outline of the spoon and smoothed out the saw cuts with a knife.

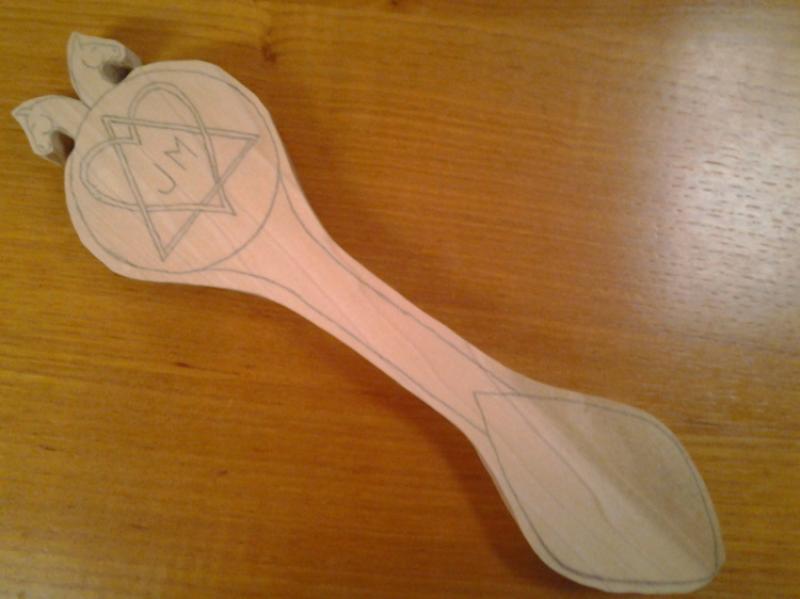
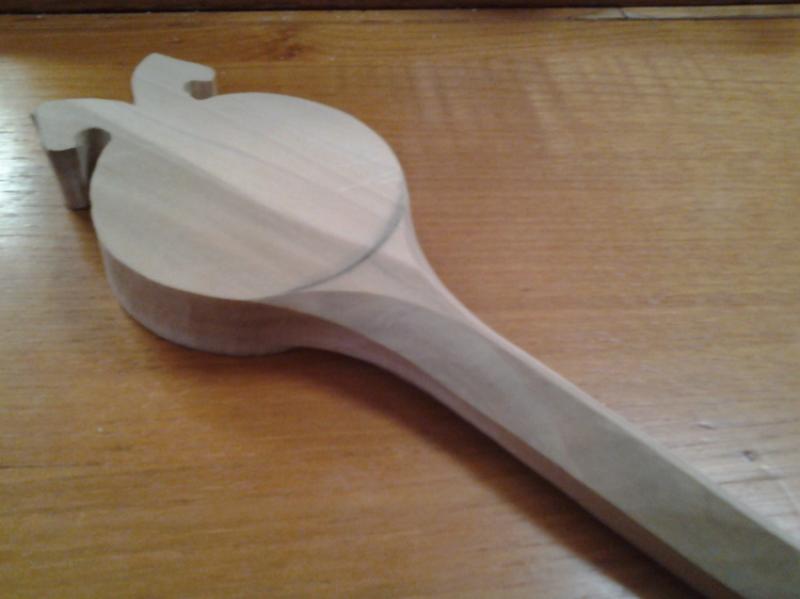
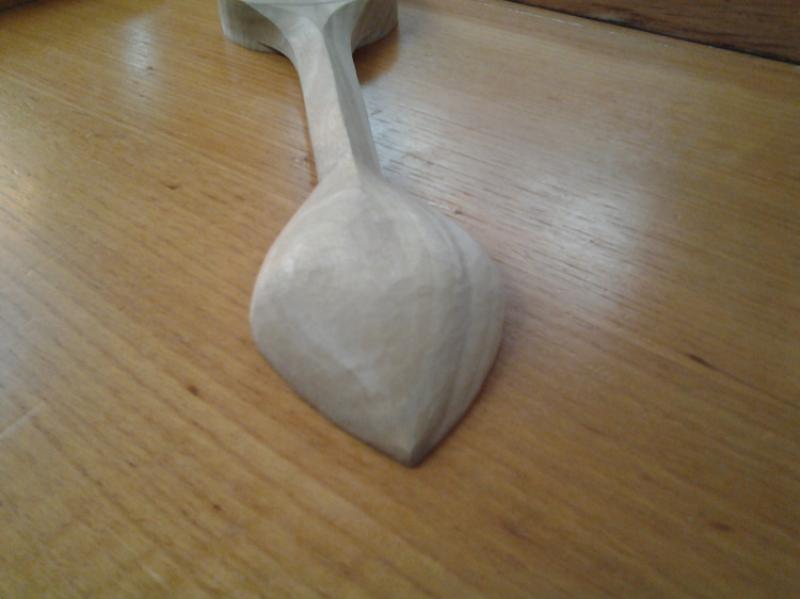
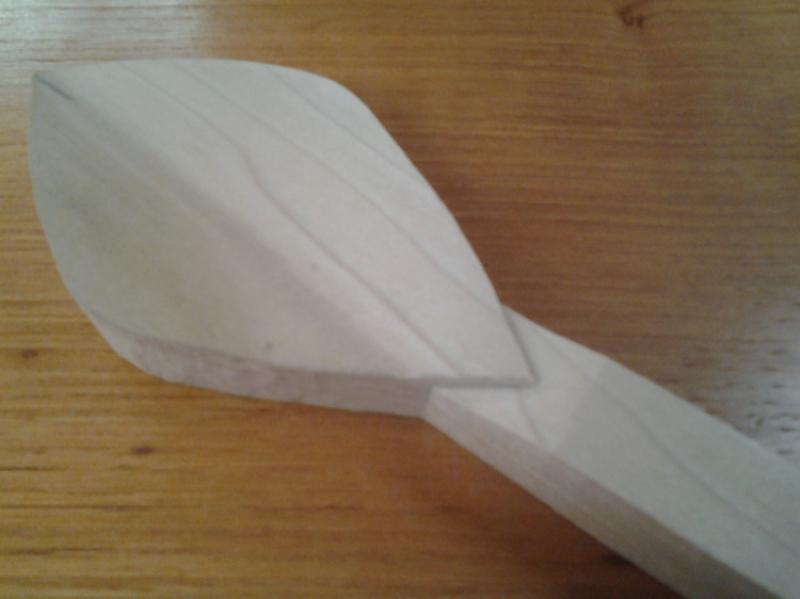
I purposely didn't photograph the saw cuts because I didn't want any photographic proof that my skills as a sawyer are so poor. ;) You might notice that I didn't transfer the design for the spoon's stem at this time. The surface of the stem is going to be lower than the surface of the crown of the spoon and the rim of the bowl, so why transfer the design now when I'm only going to be cutting it away before I do any work on it. When I get the surface of the stem where I want it, then I'll transfer the design onto it.

Posted in: Lovespoons | 0 comments
   / 2